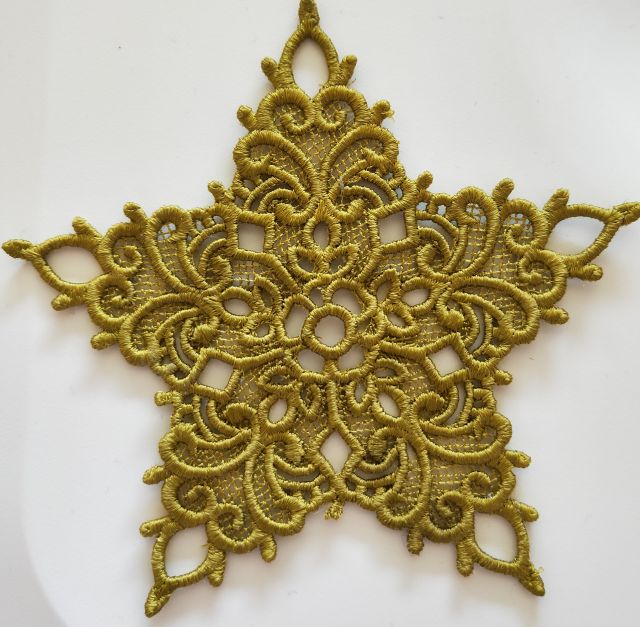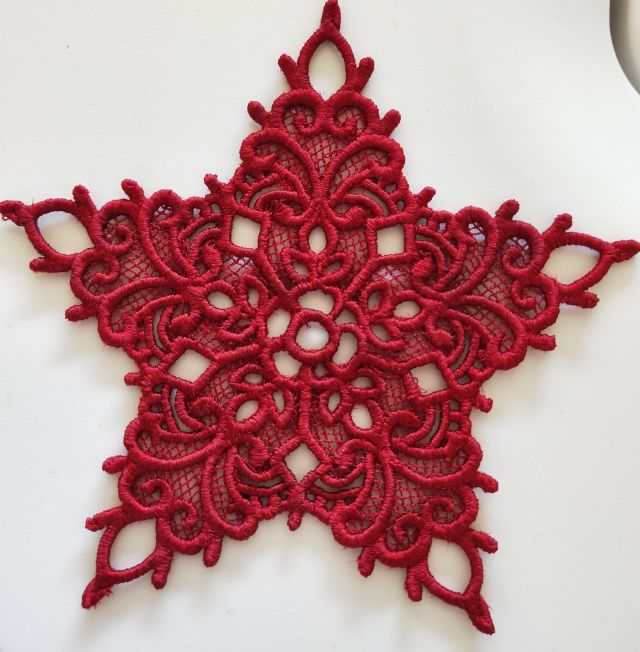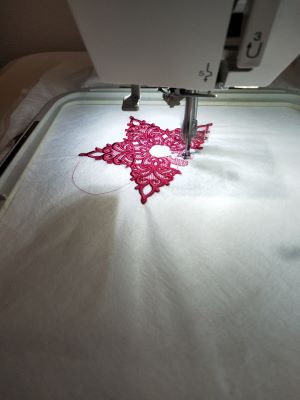
I thought I would make some Christmas decorations using free standing lace – I have made a couple of these before. This time I have bought some Christmas decoration hangers from Amazon and I will turn them into decorations and give as gifts (small tokens).
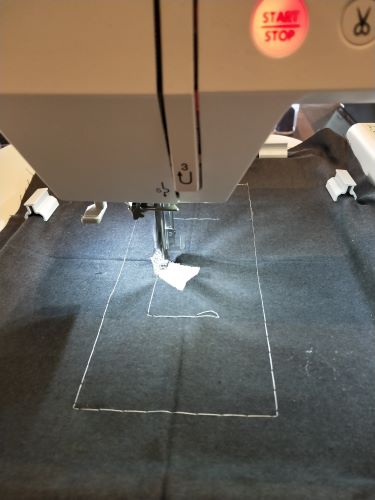
I am using two sheets of water soluble stabiliser (the one above is like paper, but I am also using the film version). Embroidery thread (Robinson Anton Candy Apple Red) on top and in the bobbin. I have slowed my machine down to 500 s/min so these take a long time, but they look good.
A short clip of the stitch out because I find it mesmerising.