Shipping was being a bit of a bug bear with the Tender Whispers group – for example, my April supplies didn’t arrive until the end of the month. To avoid that, Rebecca has sent us six months of supplies – such a nice parcel to get.
I have also ordered extra thread – depending upon my chosen quote I will probably run out.
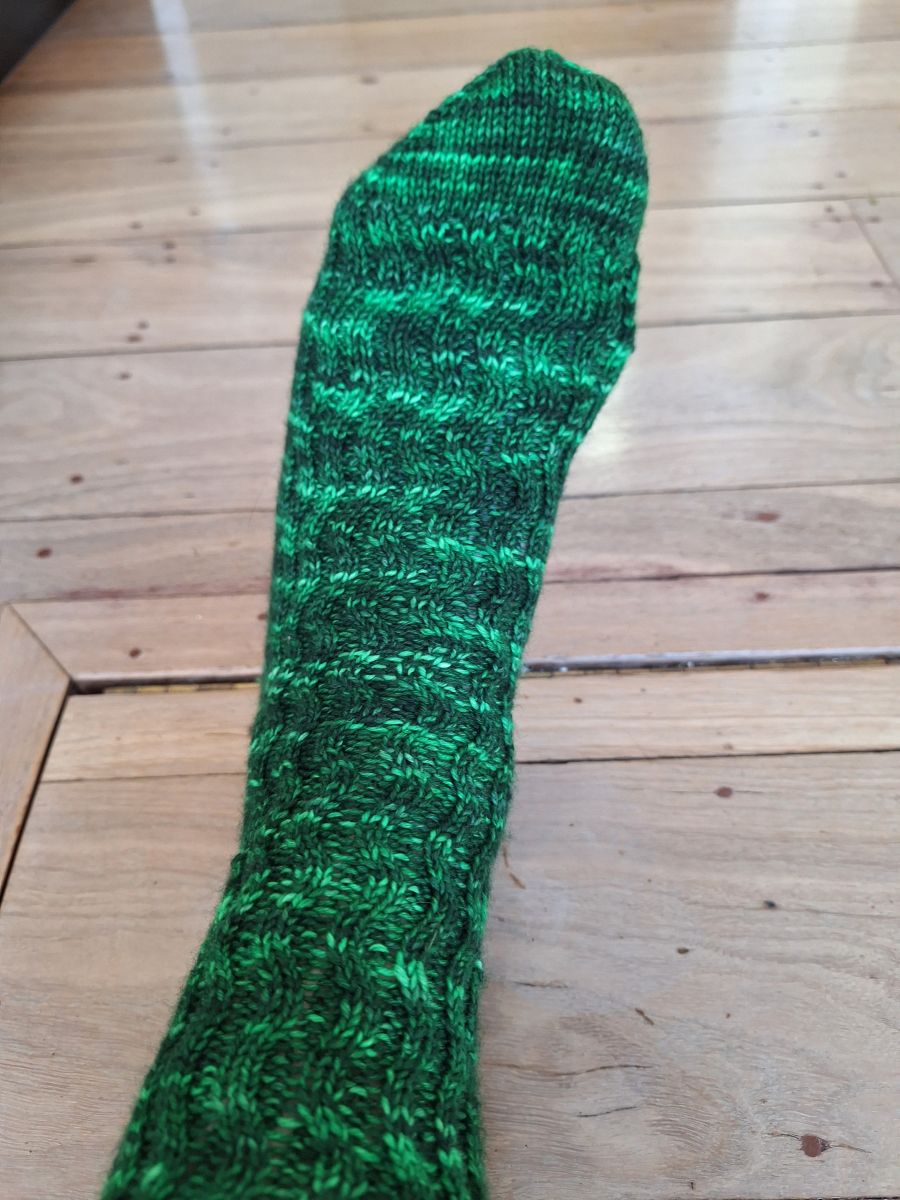
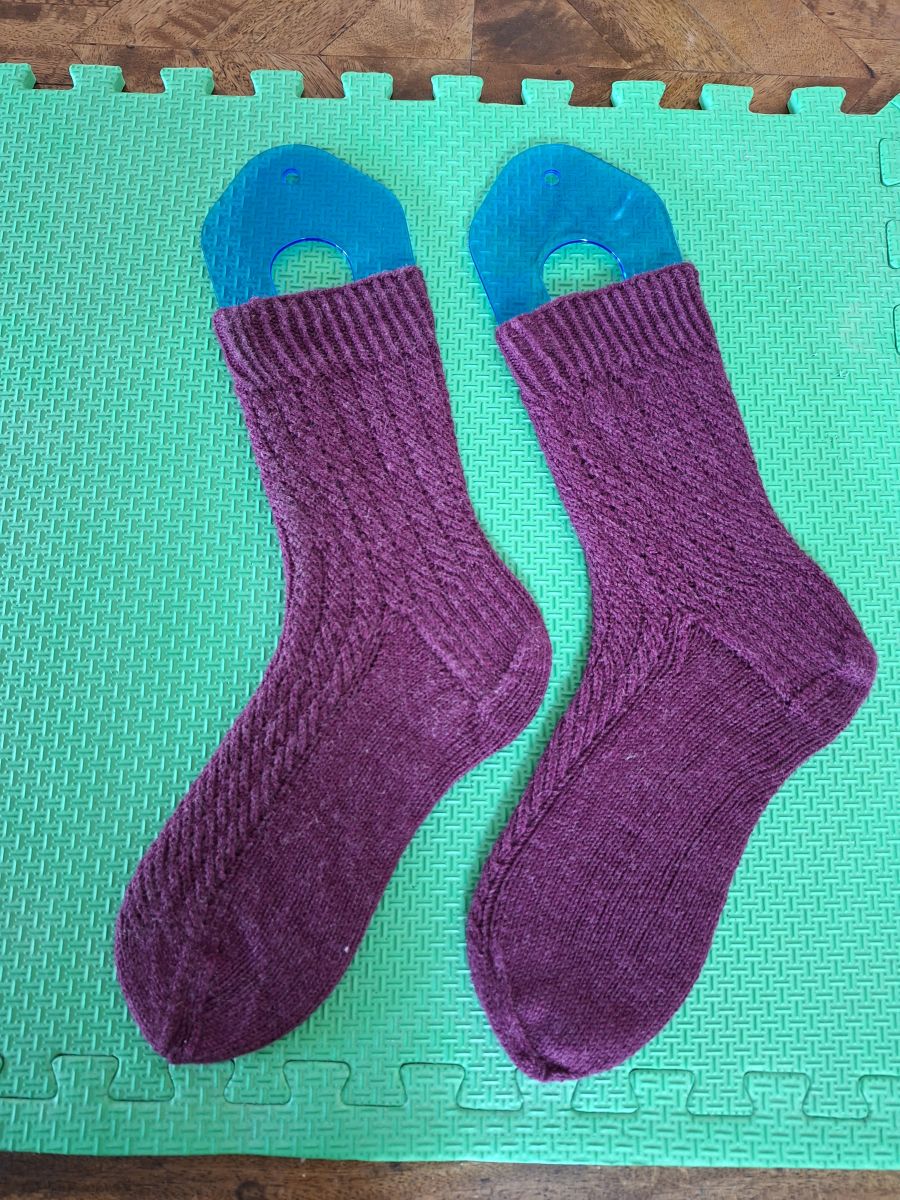
Usual needles (2.25mm knit pro zings), 20 round P2K2 cuff, and a heel flap and gusset.
After about half a leg I understood the cables and the pattern was quite easy after that.
Finished Sock One
I have started work on the second sock.
While away I bought more sock yarn (from here). I need to keep my sock production up otherwise we will be drowning in sock yarn. It was one of these, but I can’t find the exact one.
I have had parcels arrive from Paris and the UK – more on that later.
My supplies for April have arrived. There was quite a delay this month.
I have narrowed my poem choice to two possible stanzas
it all comes down to this: In our imperfect world we are meant to repair and stitch together what beauty there is, stitch it
with compassion and wire. See how everything we have made gathers the light inside itself and overflows? A blessing
Holding the Light – Stuart Kestenbaum
Or
But I study what is beautiful, what is generous. I offer it my devotion. Even in this moment writing this poem, I stitch in the pauses and the stumblings – these, too, are beautiful because they are true. I stitch in the pure potential that steeps in uncertainty. I stitch in silence. I stitch in hope.
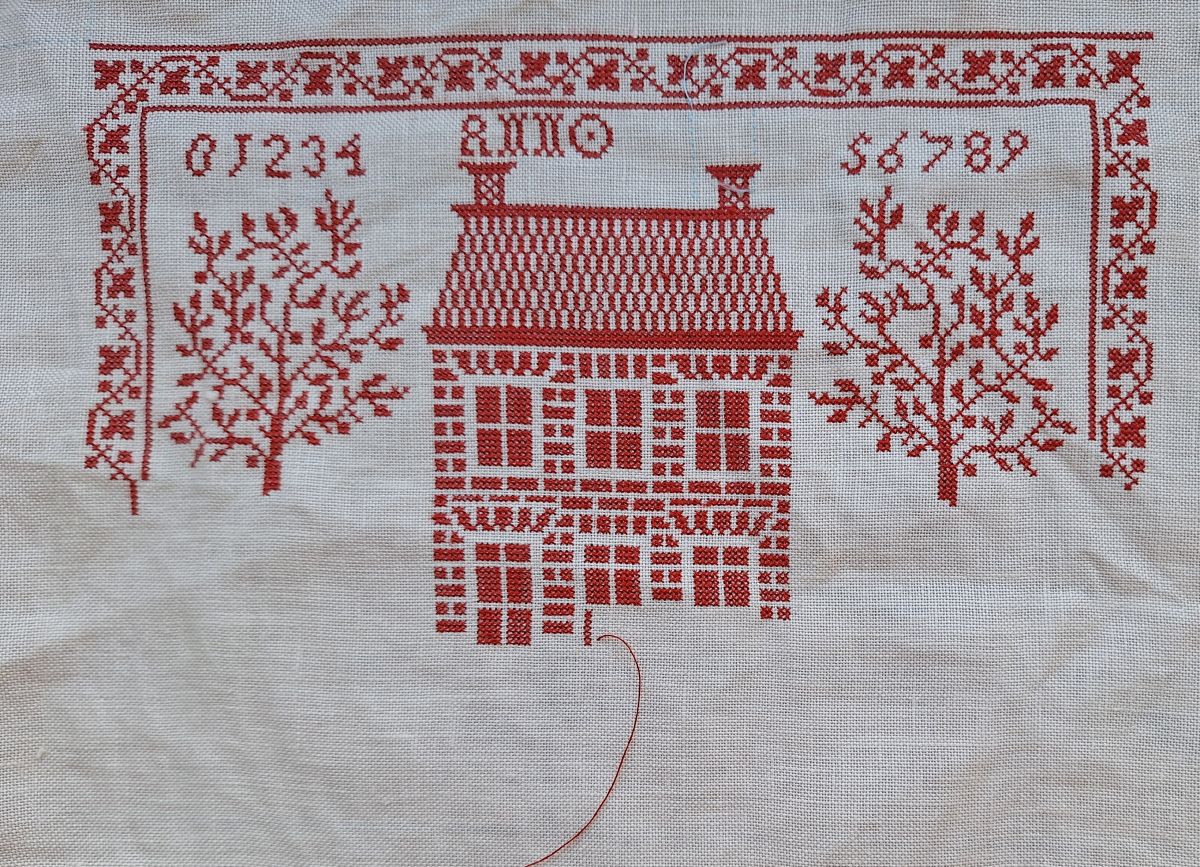
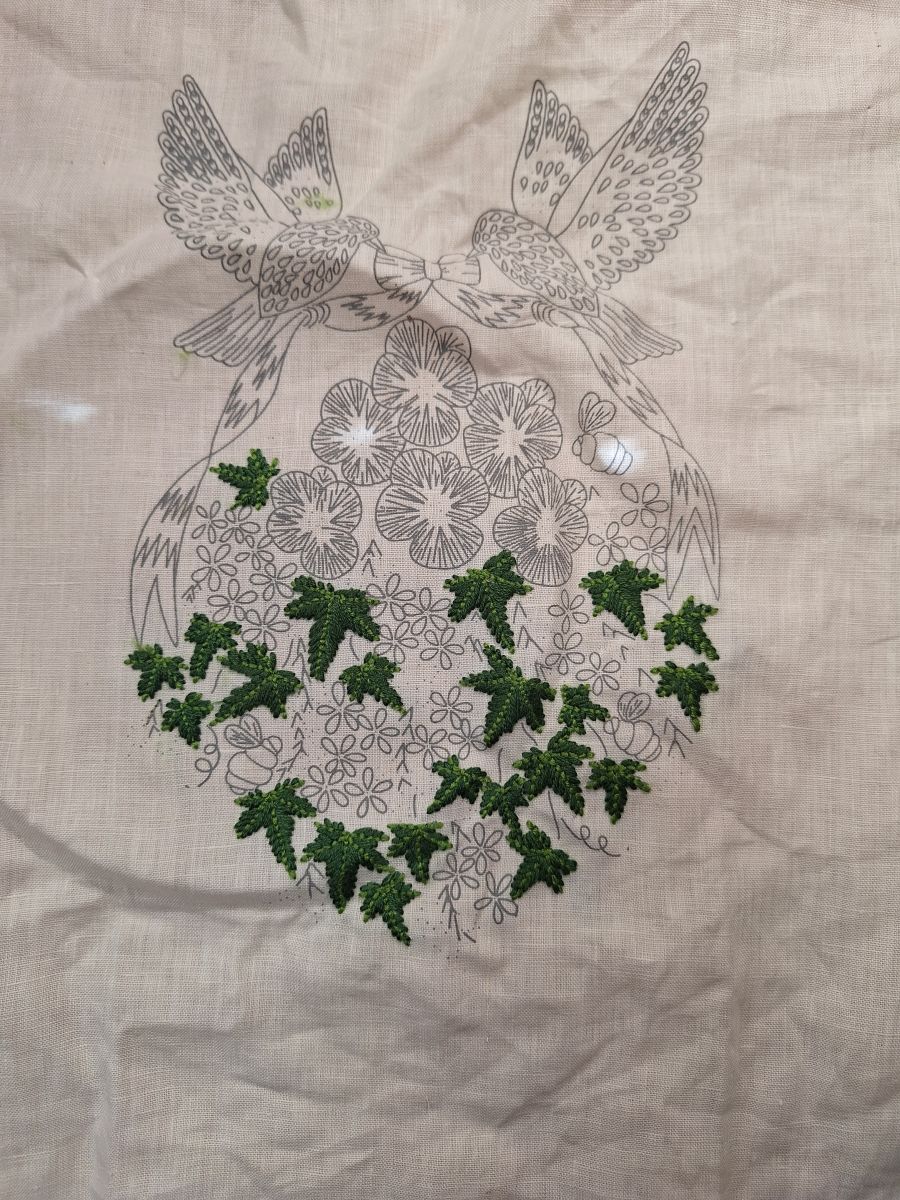
I have 30 stitching projects and I have decided to pick a new one every week using a random number generator. This was the one that came up (number 17). I am feeling a bit over-whelmed.
I have switched to an embroidery needle (from a tapestry needle) to make piercing the thread while doing a pin stitch easier. My pin stitches kept pulling out.
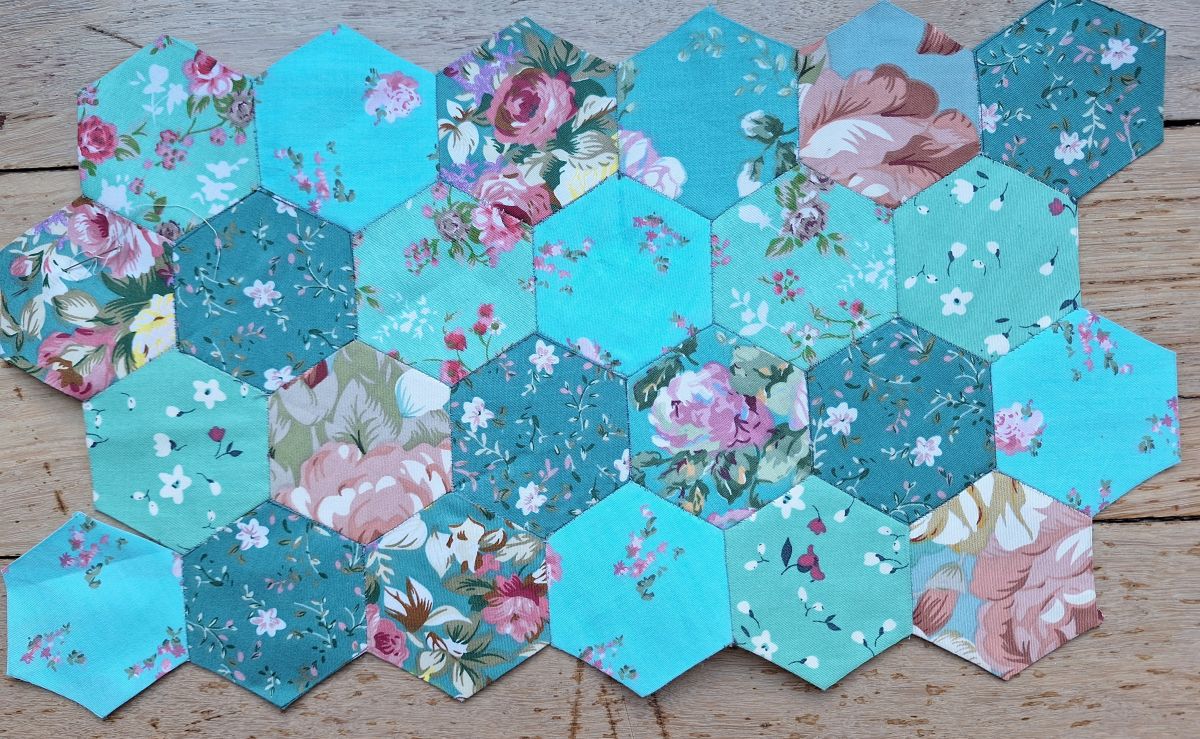
I have been working on my hexagons (English Paper piecing) – it is very relaxing and doesn’t require anything special (magnification, hoop, etc.). I want to get to a piece that is 40cm by 30cm so I can make the Slow Stitched Huswif – from L’ucello. I already have the pattern. Once I have the base, I am going to embellish.
Originally I was using a guterman cotton thread to sew the hexagons together, but I have swapped to a aurafil 50wt cotton 2846, and it does seem to be a bit easier to make small stitches (less visible from the front).
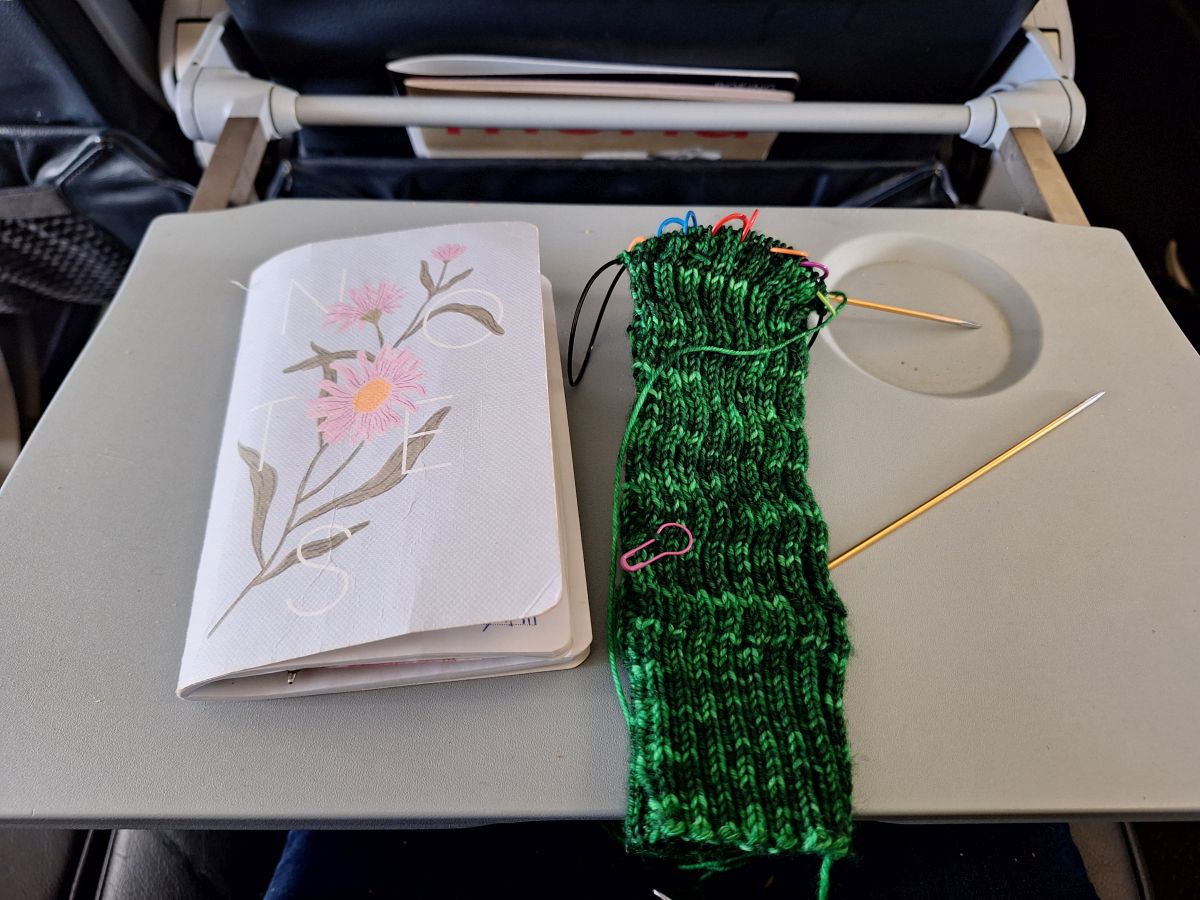
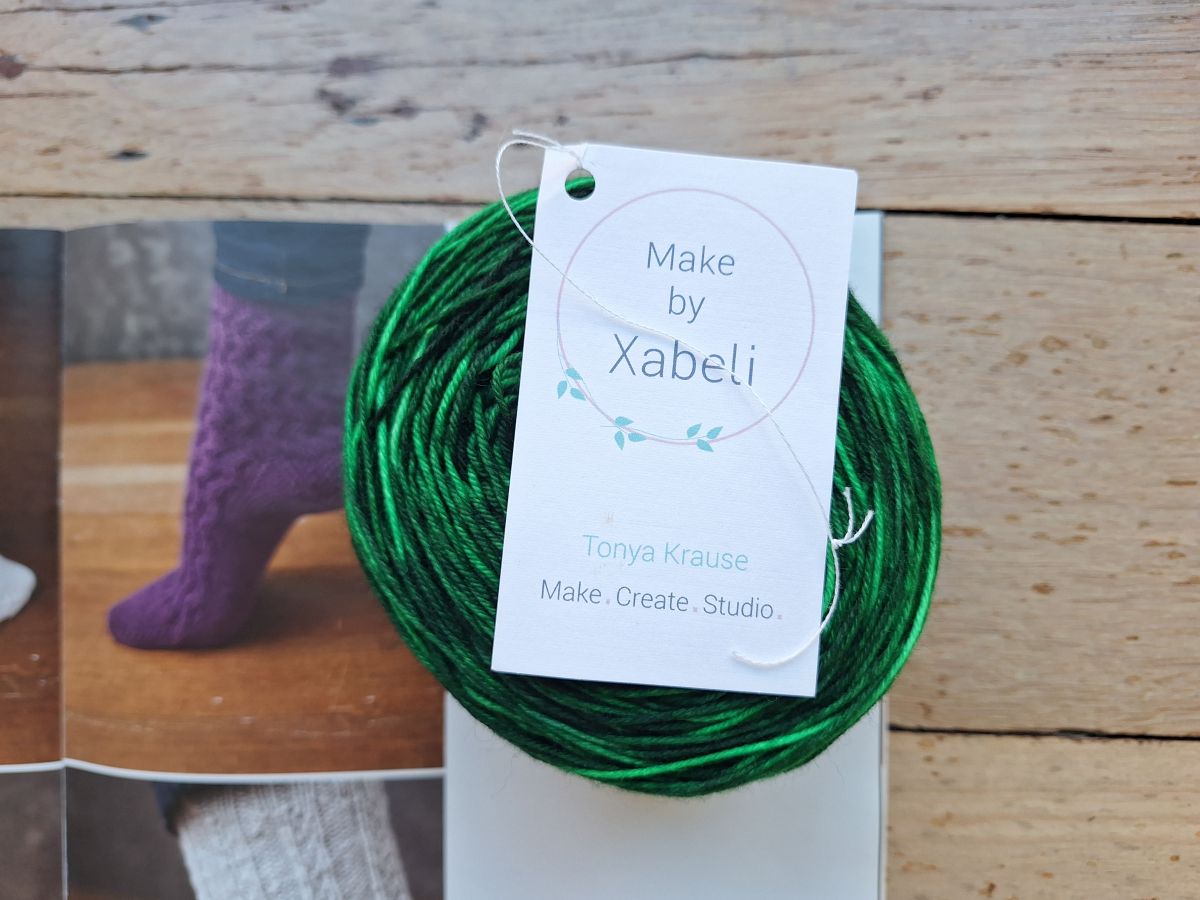
I have almost finished my February socks, and I am ready for a new project. The yarn is Vert from Made by Xabeli (she no longer appears to be selling on Etsy, and I couldn’t find another link). I plan to use a shifting rib pattern on the leg and foot (from Socktacular) and my normal sock recipe.
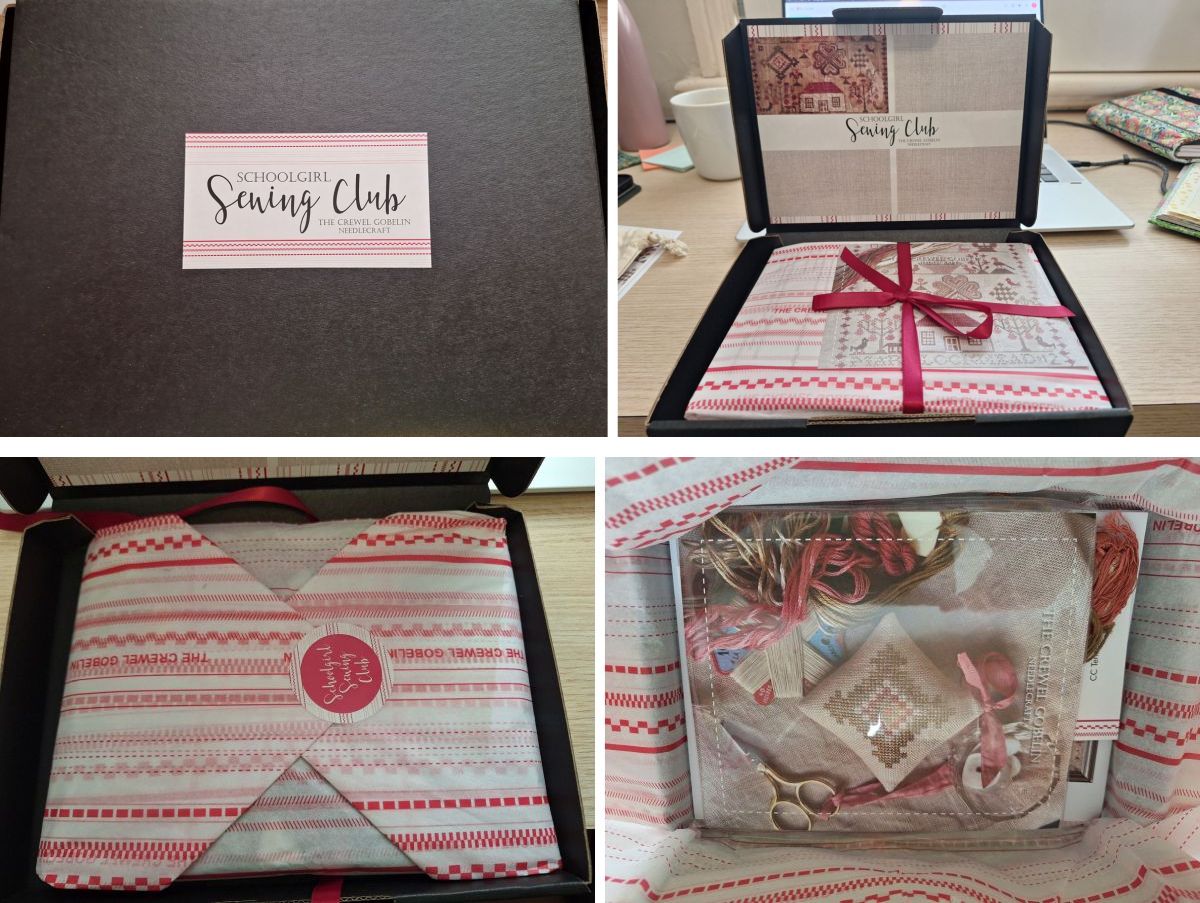
My School Girl Sewing Club arrived today – from the Crewel Gobelin.
Brenda from Brenda and the Serial Starter – talked about this club last year and I was keen to participate, but it sells out fast! This year, I stalked the website from January. I chose the 40 count linen version.
As you can see above, it comes beautifully packaged. This one is Mary Lockhead Sampler by Sovereign Samplers.
I have so many projects on the go. I am not sure when I will get to this, but I am very keen to try the linen (Hogbristle Light by Fox & Rabbit). I need more hours in the day.
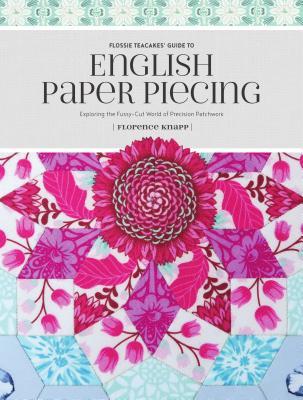
I have had this book for a long time, but I have only just read it (because of my new passion for EPP).
It is a beautiful book, her various projects are inspiring.
There is a chapter on the history of English Paper Piecing, little biographies of various artists, a section on supplies and how to do it, a section on fussy cutting, different rosettes (e.g. Holmwood rosette) and a quilt pattern.
I have read it from start to finish, and highly recommend it.