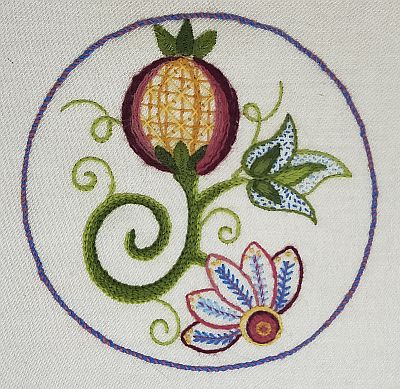
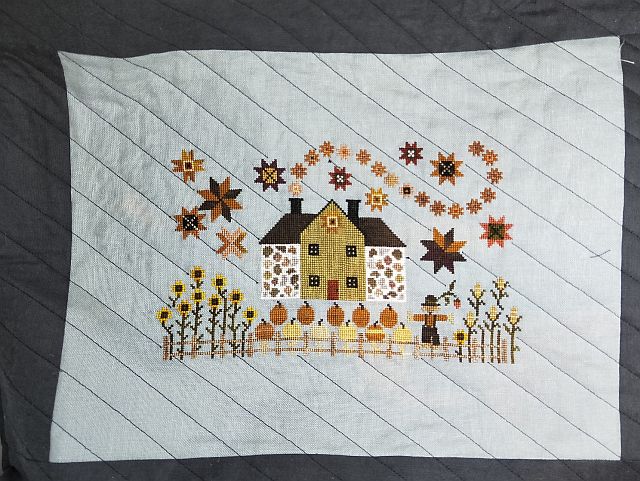
I finally finished my RSN crewel work piece. My pomegranate is poor, but I am happy with the rest of it. Given how much I love knitting, I thought I would enjoy working with wool, but I didn’t enjoy the process. I like how it looks, but my yarn (a dodgy batch?) was a bit scraggly.
The course itself was fabulous; great videos that you can watch over and over again. The kit is great and contains everything you need (except a hoop and scissors).
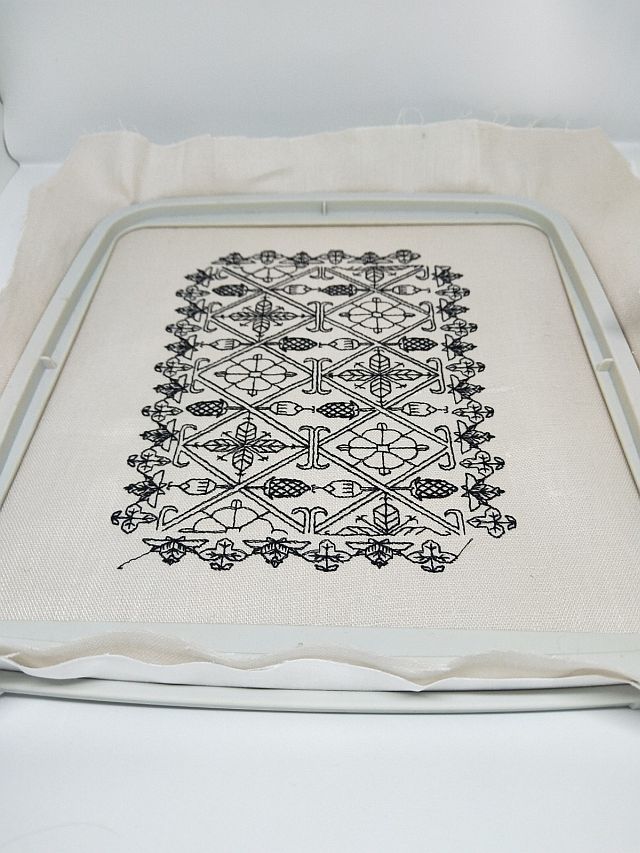
I am contemplating the black work class, but the puffin doesn’t really appeal to me. However, it’s about the learning rather than the end product.